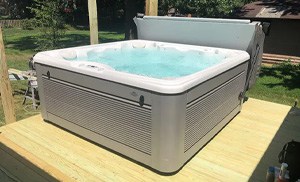
First let me start by saying that winterizing your hot tub is not an easy thing to do and even done properly, doesn’t always work. There are many ways for water to get into your hot tub, even with taking these proper precautions. Specifically, the residual water left behind or from melting snow can cause damage far exceeding any savings you may have gained by winterizing your tub. And to add, it can be quite a chore to reverse the process in the spring when you want to de-winterize your tub to start using it again.
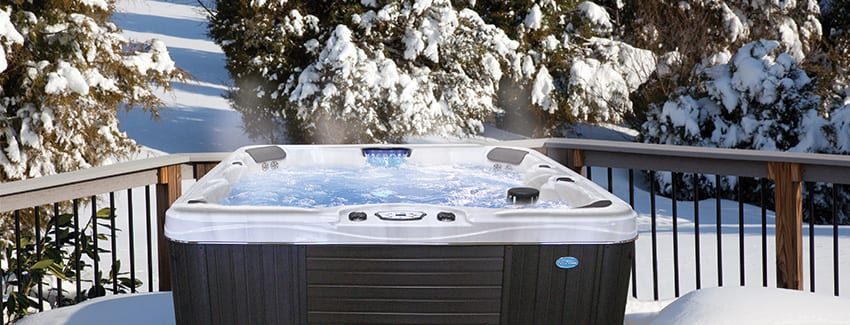
We suggest not winterizing your tub, instead — use it! What better time to use a hot tub but in the winter months. Sitting in a hot tub with the cold air swirling around can be one of the most refreshing and revitalizing feelings. If you purchased a hot tub from a reputable manufacturer, chances are, it is more than capable of handling winter temperatures with ease.
Download Our Spa Buyer’s Guide
But alas, many times we don’t have an option. Maybe you have a vacation home that you are worried about leaving the water and power on all winter? If you are interested in winterizing your tub for the winter months, these are the basic steps involved. Note, that these are just the basic steps to give you an idea of the work that will be involved. We suggest you hire a professional to complete the work. Even using a professional, you will likely find that most companies will not guarantee their work due to the many ways that water can still find a way to get into the tub and wreak havoc. Here are the steps:
- Cut the power – Always start any service procedure by shutting off the heater and then powering off the spa. Then switch off the power service at the breaker panel or disconnect box for safety.
- Flush your system and drain your hot tub – How you flush the system will depend on your specific model and manufacturer, see the owner’s manual for more detailed instructions. Blow all the remaining water out of your plumbing. DO NOT leave any water in your plumbing.
- Remove Filter – Make sure to remove your filters. Clean them and put them away for the winter in a dry place. Don’t store a dirty filter. Clean your skimmer basket if you have one. Make sure that the filter compartment is completely drained.
- Loosen fitting – There are several plumbing fittings that can be loosened to allow water to drain from them. Open all unions of your pumps and heater to make sure they are drained also or you may risk damaging your pump.
- External Gas Heater – If you have an external gas heater, shut it down per the manufacturer’s instructions. Your main concern now will be to remove all water from the unit by opening drain valves, pipe fittings, and by blowing out remaining water with a GFCI-protected wet-dry shop vac. Gas heaters which are shut-down for the winter will often require a cleaning or “tune up” in the spring.
- Blow your jets – It is also important to get any remaining water out of your jet plumbing. This can be accomplished by first opening all jets (with topside jet controls set to the off position) and with your wet-dry vac set to the blowing mode, forcing air into each of your jet fixtures. Work your way around the spa clockwise, and when you have gone all the way around, go back around counter-clockwise and blow out each jet again. Repeat until no significant amounts of water can be purged.
- Clean your shell – Cleaning your spa shell is very important, and will make the job of opening your spa in the spring a lot more pleasant. Use a non-foaming cleaner. Wipe down all surfaces and rinse with clean water.
- Mop up – Any remaining water inside the spa should now be mopped up with terry towels. Applying spa wax or a similar product to inside surfaces is a good idea and will make start up and cleaning of your spa in the spring easier.
- Protect your cover – Clean your cover both inside and out, and apply a quality protectant to both inside and outside surfaces. Never apply any product containing silicone oil to a vinyl spa cover, as it will promote deterioration. Replace cover, secure & lock the straps. If you live in a high-wind location, you might consider the addition of additional tie-downs.
- Secure your cabinet – If your spa has an enclosure with doors, make sure all are closed and any thumbscrews or latches are secured.
- Check Wooden surrounds – If your wooden cabinet needs a coat of finish, this should be applied before weather dampens the wood, or the temperature gets too low.
- Consider a Spa Coverall – Many people cover their entire spa for the winter, if in a location exposed to the weather. This prevents rainwater or snow melt from seeping back into the spa and causing potential freeze damage.
- What about Antifreeze? – Although there are pipe antifreeze products on the market, we do not recommend them because of the difficulty of removing the residues in the spring.
There you have it. It’s pretty involved, right? We hope that we’ve at least given you an insight into how this process works if you’d like to try it on your own. Or if you are looking at a professional, you might have a better idea of what they would be charging for as well.
-Written by Jackie R.


